
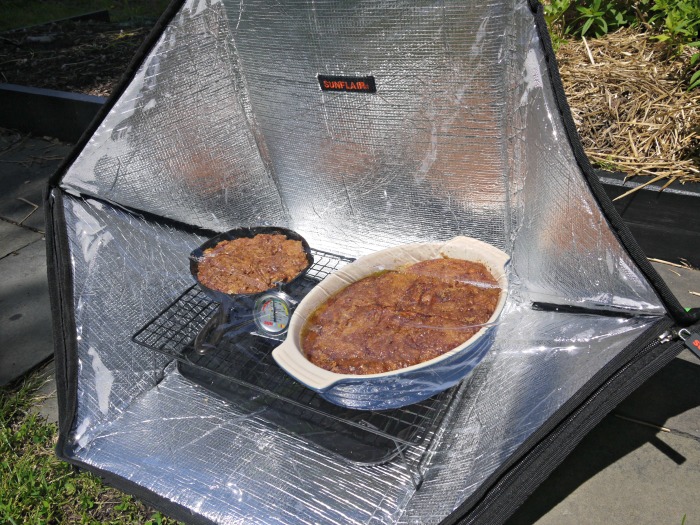
I’ve had several items on my wish list as I move towards more natural living, and slowly but surely I’m checking items off my list. Sunflair® Solar Ovens sent their Deluxe Solar Oven Kit for my honest review and I can now check one more item off that list!
The Sunflair Kit came with a portable solar oven, 2 collapsible silicone pots, a 3-lb round roaster, 2 baking/dehydrating racks, 2 heat conducting/baking trays, a thermometer, instruction booklet, and a carrying case.
I love how light weight the oven is, and how super easy and quick it is to set-up. And the carrying case will make it easy to transport, and keep everything together, when we go on our next camping trip. And if I had to purchase an oven, this would have been an easy choice since it’s so affordable.
The sun must, of course, be shining to use a solar oven, and that has been my biggest challenge in using it this summer. We’ve had weeks of rain, and the days that the sun is shining have been only partly sunny. We’re now in the middle of one of the coolest Julys I can ever remember.
I have had a chance to use the oven several times now with success, and I know I will be using this much more frequently when the weather improves. And when my tomatoes ripen, and I begin making Roasted Tomato Sauce, I will be one happy girl since I’ll be keeping the heat out of the house.
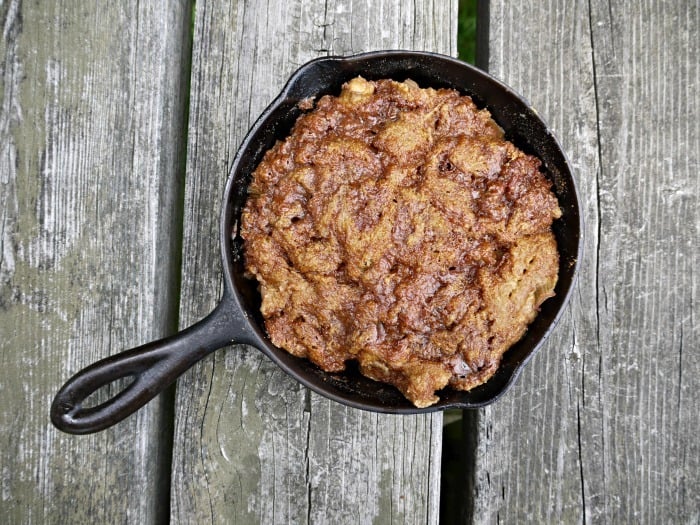
My first attempt was to bake Rhubarb Upside Down Cake, using a recipe from Grow Forage Cook Ferment (I used coconut sugar instead of brown sugar, and whole wheat pastry flour instead of all purpose flour).
The recipe called for a temperature of 350°F and my oven was only at about 225° but I didn’t worry. The instructions that came with the Sunflair® Solar Oven insured me that all would be well – I just had to leave the cake in the oven for a longer period. And the manual was absolutely correct. The cake was fully baked and delicious after about 2 1/2 hours of baking.
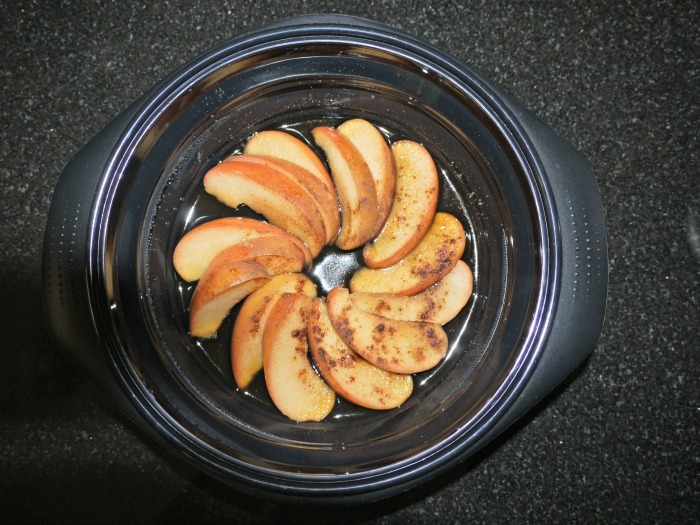
The second time I was able to try the oven, I set it up before I went to work in the garden one morning. Knowing that black attracts heat, I placed two eggs into a clean, black sock and placed them in the oven. I also sliced an apple and placed it into one of the collapsible silicone pots that came with the oven and sprinkled cinnamon and coconut sugar on top.
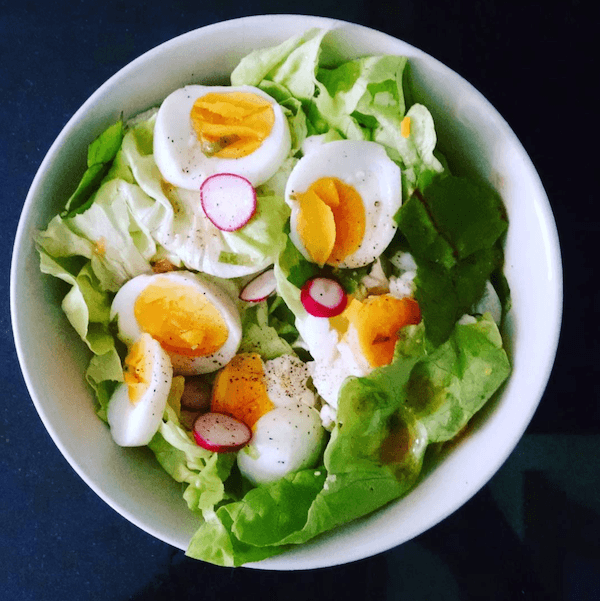
It was a sunny, but cool morning and the temperature in the oven hovered around 200°F. An hour and a half later, I had 2 hard-cooked eggs and a baked apple. For lunch I made a salad with fresh greens from my garden and topped it with the eggs, and had the apple for dessert. I never would have turned my oven on for just one apple, so it was really nice to have a treat that was so quick to put together.
The third time I used the oven was a little less successful. The forecast called for sunny skies, but we ended up with some clouds which shaded the oven every 20 minutes or so for several minutes. Each time that happened the temperature would drop although it would rise again when the sun came back out.
My concern was that I was baking chicken, rice and vegetables and I was worried about the safety of the meat when the temperature dropped. The oven thermometer that came with the Sunflair® Solar Oven was really a life saver. It not only shows the temperature in the oven, but it is color coded and warns you if you are not using a safe temperature.
I did finally move the chicken casserole to my indoor oven because of the drop in temperature. The chicken was half cooked at this point and only took another 20 minutes in the oven to complete cooking.
The zucchini in my garden is plentiful (it always is!) and so my most recent use of the oven was to bake zucchini bread. I was having some trouble keeping the temperature up even though it was a warm, clear sunny day, and so I contacted Melinda at Sunflair and she was amazingly helpful.

All kits come with a User Guide, some handy tips, and a note from Melinda with an email address where you can send questions. Do be sure to send questions if you are having problems. Although I DID read the Users Guide, I forgot a lot as I went along and was definitely making some newbie errors.
Here’s what I learned:
- Be sure to keep the thermometer near the center of the oven, or on the lid of the pot. I had it on the floor of the oven and was getting a false, low reading.
- While I was careful to align the shadow behind the oven like a sundial so that it is facing the sun correctly, I was not paying attention to the fact that the shadow should be 8″ or longer to ensure the sun’s full UV rays are entering the cooking chamber. Again, this resulted in lower temperatures than I desired. This can be accomplished by using a rock or brick to tip the oven backwards a bit. Adjustments can then be made to the rack inside the oven so that the pot is kept level.
- While I generally used the black pots that came with the oven, there were a few times I used white or clear glass. Black matters because it attracts heat.
- Small is better. Muffins rather than quick breads, for example. And it’s best to cut meat and vegetables a little smaller than normal.

Next up? My garden is full of beautiful herbs and I plan to use the Sunflair® Solar Oven to dry some of them for winter use.
Do I recommend the Sunflair® Solar Oven? Absolutely!!!

Thank you for visiting Learning And Yearning. May "the LORD bless you and keep you; the LORD make his face shine upon you and be gracious to you; the LORD turn his face toward you and give you peace." Num 6:24-26
Chris Helmuth says
I’m looking into offering a like-minded dehydrate/cooking concept for county marginalized community off-grid. Deeply appreciate your experiments! Hat’s off to you!
nunu says
You give some very useful tips here. Thanks.
KEITH Loftus says
can you use any type of pot or pan in the solar oven?
Susan Vinskofski says
You can use anything you would use in a regular oven, but a black, or darker colored pan attracts the sun so is best.