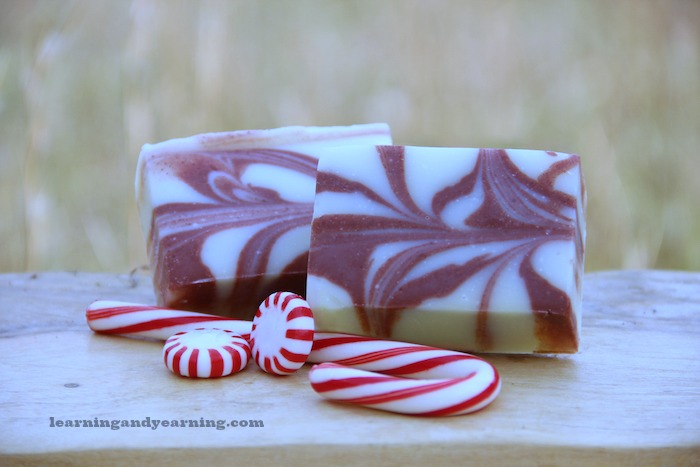
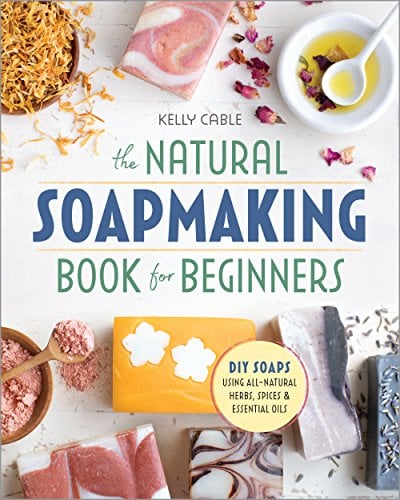
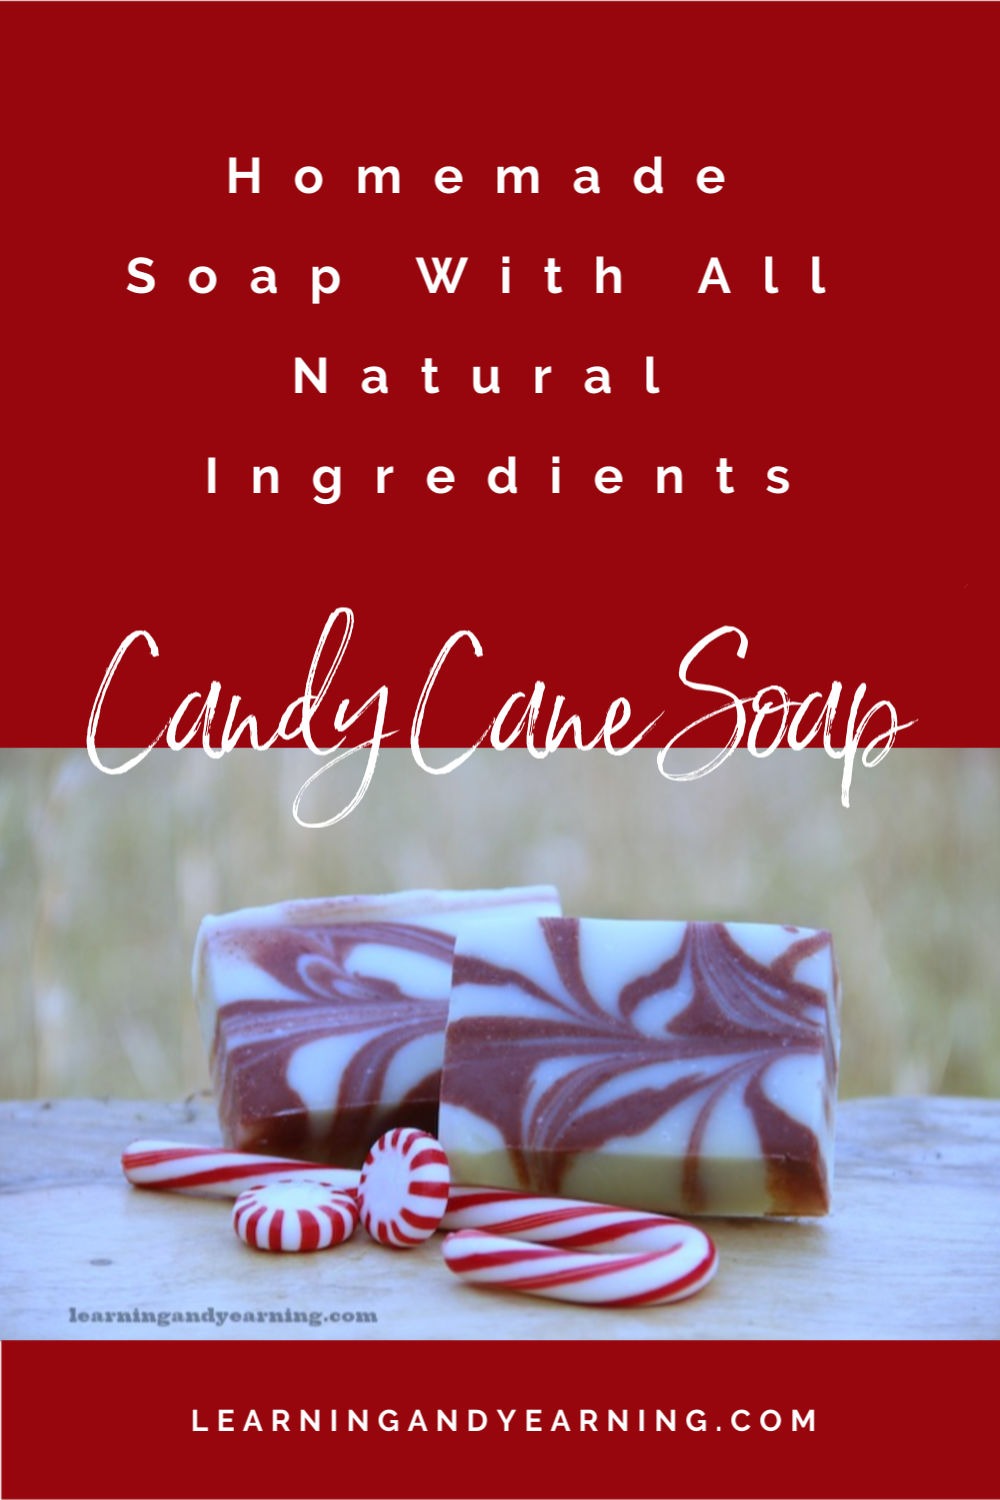
I love this beautiful soap with a candy-cane swirl. Scented with peppermint essential oil, it is perfect for Christmas gift-giving. The instructions for making this natural, homemade candy cane soap come from Kelly Cable’s new book, The Natural Soap Making Book for Beginners (and is used with the author’s permission).
I’ve been making soap for many years, but I’ve rarely gone beyond the basics. Kelly’s new book inspires me to be more experimental and artistic in my soap making. This candy cane soap was the first I’ve tried using color in my soap, and I love it!
This beautifully illustrated book contains all you need to know about natural soap making, supplies and ingredients, and the process of making soap. If you are a beginner and want to get started now, you will be interested in this simple primer on Basic Soap Making.
Making Candy Cane Soap
Equipment Needed
- kitchen scale
- measuring spoons
- glass bowls
- large spoon
- large stainless steel or enamel pot
- small zip-top plastic bag
- thermometer
- soap mold
- parchment paper
- stick blender (or hand mixer)
- whisk
- rubber spatula
- chopstick
- blanket
All Natural Ingredients
- 12 ounces tallow
- 10 ounces olive oil
- 8 ounces coconut oil
- 3 ounces castor oil
- 4.4 ounces lye* (recommended brands include Red Crown, ComStar, and Essential Depot )
- 12.5 ounces filtered or distilled water
- 1 ounce peppermint essential oil
- 1/2 to 1 tablespoon madder root powder
Instructions
 1. HEAT THE FATS/OILS In a large pot, combine the tallow, olive oil, coconut oil, and castor oil. Heat over medium-low heat until they are melted and incorporated. Remove from the heat and allow to cool to 100° to 110°F.
2. MIX THE LYE WATER Put on safety gear, including protective eyewear, a mask, gloves, and long sleeves. Outside, carefully add the lye crystals to the water and stir until dissolved. Allow to cool to 100° to 110°F. If the oils and lye water cool at different rates, you can use a cold- or hot-water bath in the sink.
3. PREPARE THE MOLD While the oils and lye water cool, line the mold with parchment paper. For a mold with individual cavities, the parchment is not used.
4. COMBINE AND BRING TO TRACE When both the oils and lye water are 100° to 110°F, carefully pour the lye water into the pot of oils. Use a stick blender (or hand mixer) to mix for 1 to 2 minutes and then let the mixture rest for 4 to 5 minutes. Repeat mixing and resting until light trace.
5. MIX IN NATURAL ADDITIVES When the soap reaches light to medium trace, add the peppermint essential oil and blend for 30 seconds.
6. MIX IN COLORANTS Transfer 1/2 cup of the soap to a small bowl. Add the madder root powder and whisk until there are no lumps.
7. MOLD THE SOAP AND SWIRL When the soap is at medium trace (just a little thinner than pudding), pour the large batch into the mold. Pour the red soap horizontally, back and forth, over the surface of the soap. Insert a chopstick into the batter until it reaches the bottom of the mold. Drag the chopstick back and forth, across the length of the mold. Cover with a lid or parchment paper and insulate with a blanket for 24 hours.
8. CUT AND CURE Remove the soap from the mold. If it seems too soft to remove, wait another 12 to 24 hours before removing. Cut the soap into 12 (4-ounce) bars. Allow the bars to cure in a well-ventilated location for 4 to 6 weeks.
TIP Your soap needs to be at medium trace to create the swirl on top or the color will sink inside the soap. If your soap is too thin, blend with the stick blender or wait a few minutes for it to thicken before pouring into the mold. If you have poured the red soap back and forth over the top of your batch and have extra, don’t use it. Overuse will give you a solid red on top rather than pretty red stripes or swirls.
More Post That Will Interest You
Apple Cider Soap from The Nerdy Farm Wife
Pumpkin Soap Recipe from The Nerdy Farm Wife
Goat’s Milk and Honey Soap from Practical Self Reliance
7 Alternatives to Petroleum Jelly for Taking Care of Your Skin


")


")

")


")


")


