Are you a fan of black walnuts? The taste is decidedly different from English walnuts. Most people either love them or hate them. I think they’re an acquired taste.
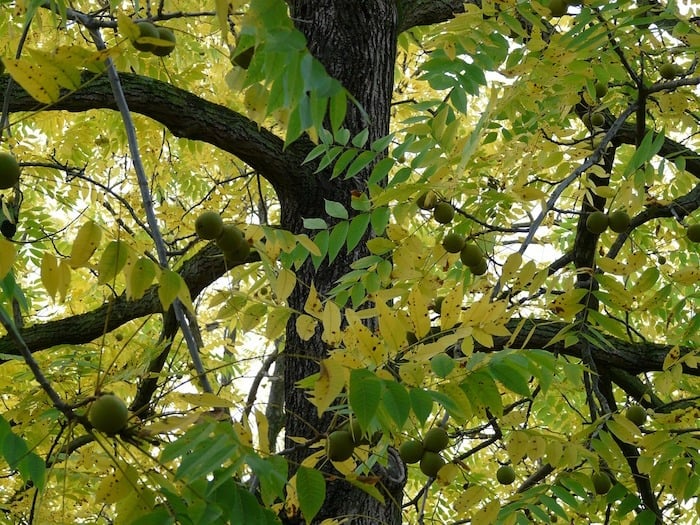
This fall has been a great one for foraging. It seems that everything is in abundance, including the black walnuts which we forage along a public trail.
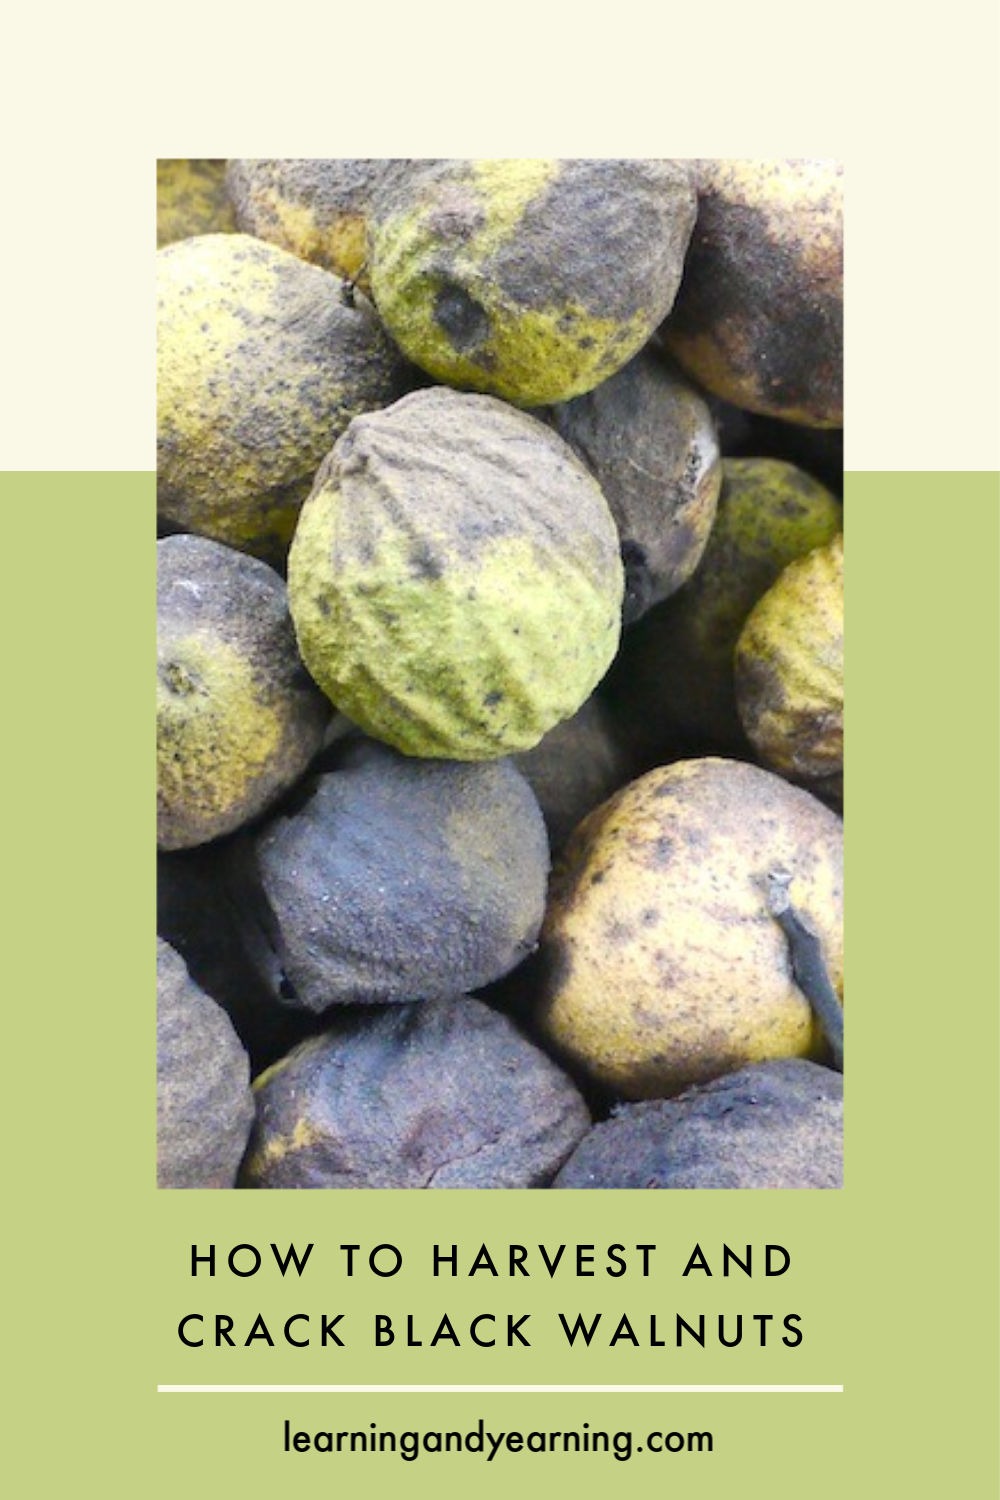
Harvesting, Hulling, and Curing Black Walnuts
Gathering black walnuts is the easiest part of the process. When ready in the fall, the nuts will just fall to the ground. The husks will change from green to yellow when they are ripe. You can just pick them up from the ground, or use a Nut Wizard to gather them.
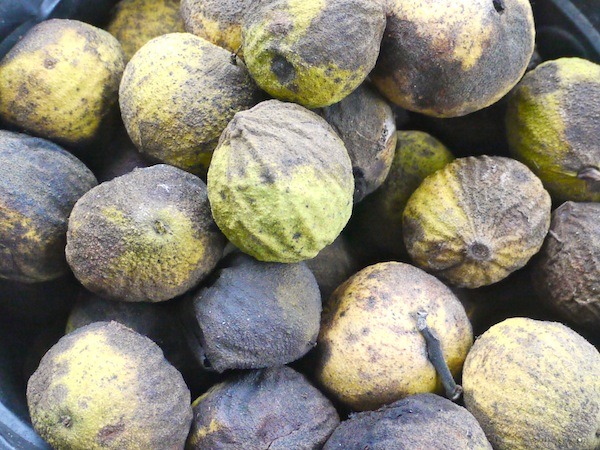
Hulling (removing the husk) is also a relatively easy process, but be sure to wear gloves to protect your hands from being stained. Allow any husks that are still green to sit for a few days. Once yellow, or starting to turn black, they should peel right off. You want to hull when they are in the spongy stage; if the husks are allowed to dry out, the process will be much more difficult.
If you are hulling a large amount of nuts, you may want to consider using a corn sheller, which supposedly works well for husking black walnuts.
The hulls may be saved to use to make ink, or natural dye. I’ll include some links with instructions at the end of the post.
All parts of the black walnut contain juglone, a naturally occurring chemical which acts as an herbicide. The roots, especially, are high in juglone, and gardens should be never be planted near a black walnut tree. The juglone will break down during decomposition, but I prefer not to compost my husks or shells. I don’t want to take the chance that they have not thoroughly decomposed.
After hulling, the nuts must be cured. When you first remove the husks, the nut will be a bit wet and slimy. Some people go through the trouble of washing them and removing every last bit of husk. I don’t bother. What I do is lay the nuts in a single layer on some cardboard (or screen) in a dry, ventilated area for about 2 weeks. I turn the nuts every few days to keep them from getting moldy. They will cure nicely and will no longer be slimy.
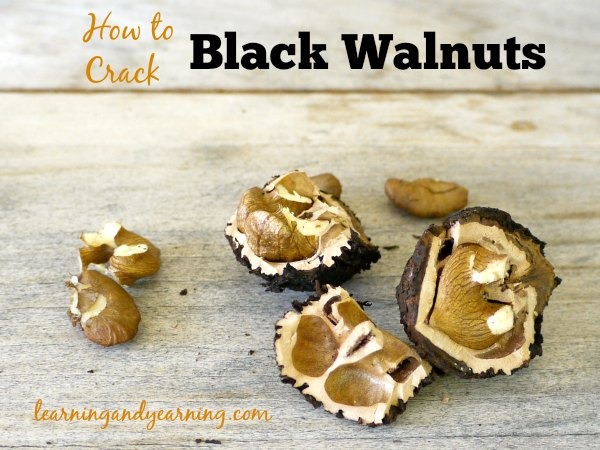
Cracking Black Walnuts
And now we get to the fun part of black walnuts – cracking them. Black walnuts are notoriously difficult to crack, but with either the right tools, or a simple trick or two, the job can be performed without too much trouble.
How you go about shelling your nuts will depend on how many nuts you have. If you have a lot, you may want to consider a heavy duty nut cracker like this one.
If, on the other hand, you’re only cracking a few pounds of nuts, there’s a less expensive solution. You’ll want to be working on a sturdy workbench, or perhaps your garage floor. Place an old, but clean towel or t-shirt on your work surface, and place a nut on top of it. If you want to be really particular, place the nut with the pointy side down. Cracked in this position makes removing the nut meat easier and you’ll have larger pieces.
Now fold the cloth over on top of the nut. This keeps the nut from flying all over the place. If you placed the nut pointed side down, you’ll have to arrange the cloth in a way that holds the nut in that position.
Using a hammer, give the nut a good crack. Don’t go smashing it to smithereens, though. The goal is to just crack the nut in 2 – 3 pieces. You can now use a nut pick to remove the meat.
Black walnuts will last up to a year in the refrigerator, or two years in the freezer.
Recipes and Such
For digestibility, I recommend soaking and drying black walnuts before using in recipes. Here’s how: Place 1 c. black walnuts and 1 1/2 t. sea salt in a bowl and cover with room-temperature filtered water. Soak for 8 hours. Preheat oven to 150 degrees. Drain nuts and spread in one layer on a baking pan. Dry nuts in oven for 12 – 24 hours stirring occasionally, until very dry and crisp. A dehydrator may be used instead of an oven. This makes the nuts oh, so delicious.

My favorite cookie ever, and my favorite way to use black walnuts is in Russian Tea Cookies. I use this recipe and just replace the English walnuts with black walnuts.
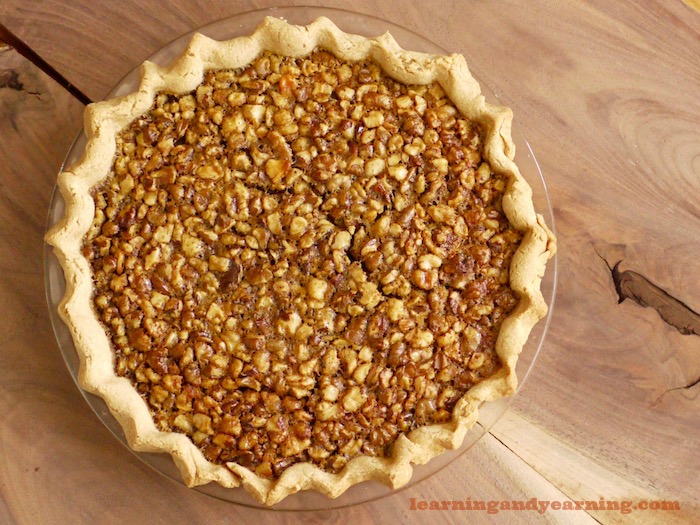
And this Black Walnut Pie is to die for!!!

Black Walnut Ice Cream from Janet at One Acre Farm.
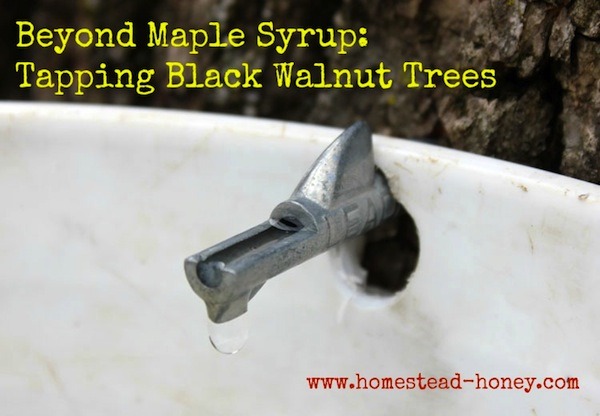 Did you know that you can tap black walnut trees for syrup? You sure can! Teri at Homestead Honey shows up how.
And here are those posts I promised about using the black walnut hulls for ink and dye:
Black Walnut Hulls for Dye and Medicine
Natural Walnut Ink for Fabric Stamping Part 1
Natural Walnut Ink for Fabric Stamping Part 2
What ways have you used black walnuts? Do you love them or hate them?
More Posts You’ll Love
The Forager’s Guide to Plant Identification
Hunter’s Pie with Jerusalem Artichoke
Make Your Own Lacto-Fermented Grape Juice from Wild Grapes
Make Your Own Apple Sugar from Wild Apples


")


")


")

")

 Extract - with tips for foraging")


 with Stinging Nettle (or other wild greens)")


")


")


")