There’s something special about seasonal eating, don’t you think? It seems to me that is was more common when I was a child. Apples were only available in the fall. Oranges and tangerines in the winter. These days you can find most anything all year round.
If you are a gardener, and eat fresh from your garden, you really know about seasonal eating. I’m sure that you preserve some of your harvest for the winter, but that’s a lot different than shipping fresh produce thousands of miles so that it’s available out of season in grocery stores.
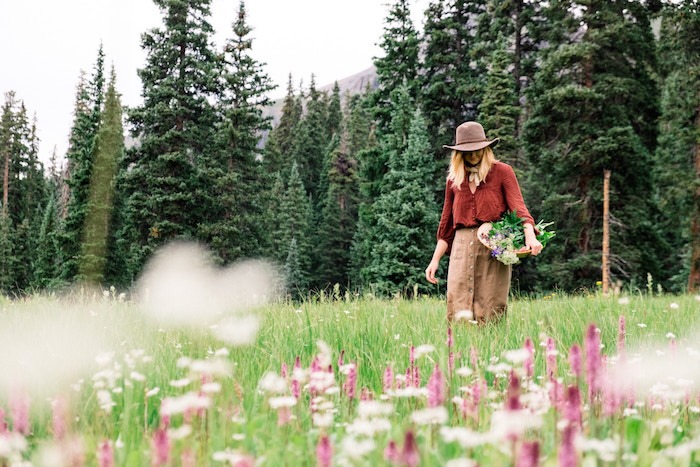
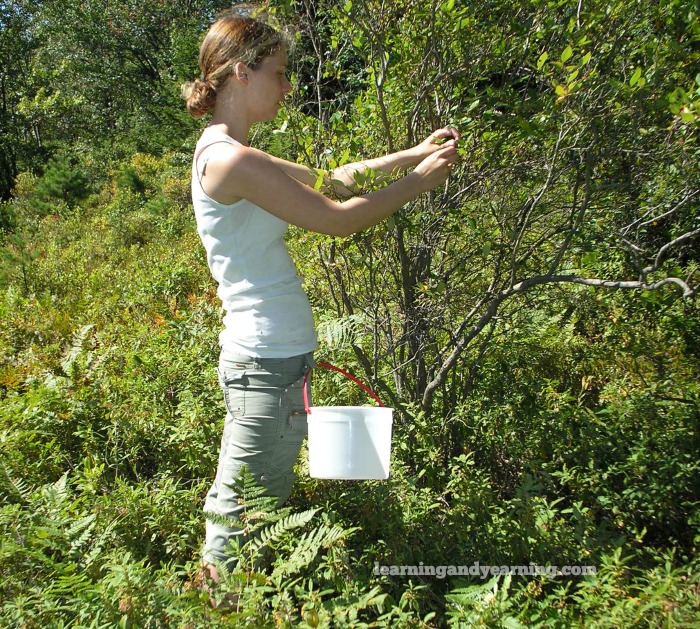
Seasonal is one of the things I really love about foraging. If I miss the wild blueberries this year, I have to wait another year for them to come in season. Having to wait makes them extra special.
And I love that foraging gives me the opportunity to extend and preserve the harvest to seasons beyond the traditional gardening season. The Homestead Lady has a great post on off-season food preservation.
But just like garden produce, the wild fruits, berries, leaves, roots, and seeds can be preserved for year round use. My favorite way to do that? Dehydration.
For garden produce, learn how to dehydrate the harvest in my post A to Z Guide to Dehydrating Vegetables.
Common Methods of Dehydration
How well each method of dehydration works will depend a lot on your climate. In dry climates, a dehydrator is probably not necessary. Where I am in the northeast U.S., damp weather is a given. Because I want my dried herbs and plants to maintain their aroma, color, and flavor, I almost always use a dehydrator. Here are some of the common methods used to dry herbs and plants. Choose based on your climate.
On screens indoors or outdoors – with this method, your plant material is spread out on drying racks or screens, which are often stacked to save space. Plenty of room is left between the screens for good air circulation. The drying rack is placed outdoors in the shade on a dry day. The racks may be covered with a mesh to keep insects away. Or the racks may be placed in a dry room. A fan or dehumidifier may be used to assure good air circulation.
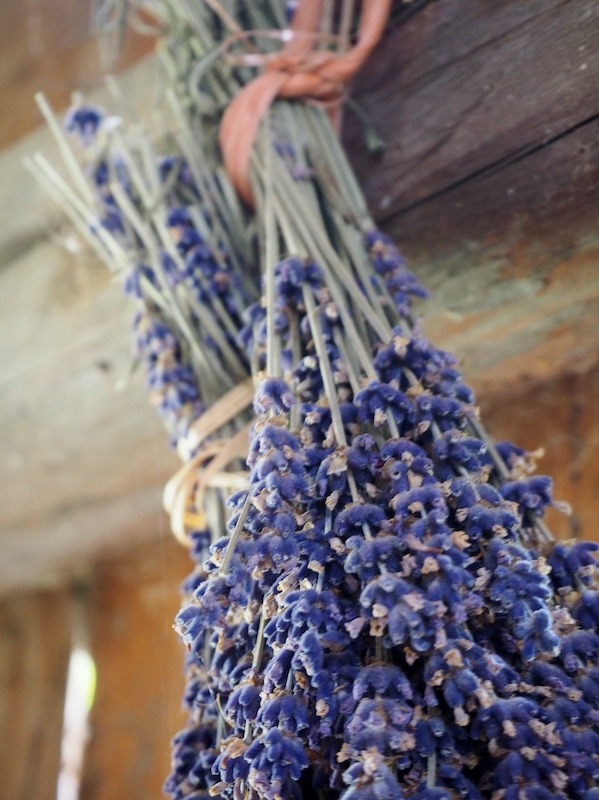
Hang in bunches or in paper bags – herbs are cut, tied in a bundle, and hung to dry. Alternately, they may be placed in paper bags which have holes for air to circulate. The paper bags help to keep dust off of the herbs while they dry.
In oven at a very low temperature – in order to dry plants, and maintain quality, the oven temperature should be kept below 125°F. Unfortunately, not all ovens have settings that low. The oven can be turned on and off periodically, but temperature must be carefully monitored for successful drying.
In a dehydrator – this is by far my favorite method of drying herbs and other foraged plants. I use this dehydrator, and I love the consistency. I never worry about mold, or burning the fragile plant material. Using the dehydrator, my dried herbs maintain beautiful aroma, color, and flavor. I have found it superior to any other method of dehydration.
The Botany and Wildcrafting Course from The Herbal Academy is a wonderful resource that teaches proper methods of collecting, drying and using plant material. This course is for beginner and intermediate level learners and will help you learn how to identify, harvest, preserve the plants around you in an ethical and sustainable way.
Harvesting and Drying Herbs, Berries, Roots, and More
Before going out to forage wild edibles and medicinals, be sure that you have properly identified the plant. Use a good plant identification book, forage with someone experienced, or take a Botany and Wildcrafting Course which teaches plant identification.
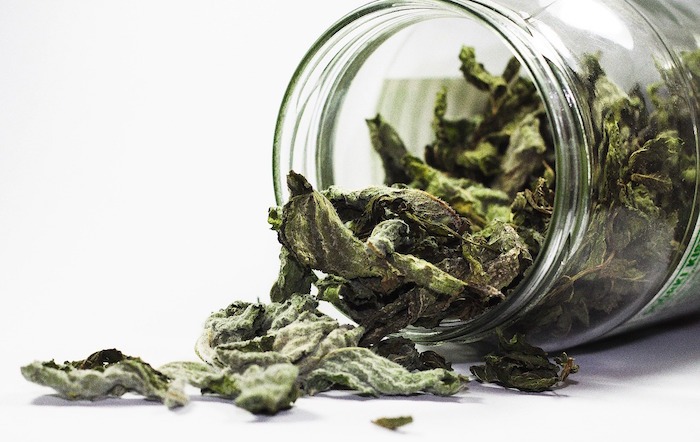
Tips For Harvesting and Drying Leaves
To maintain flavor and aroma, it is best to harvest leaves, like stinging nettle, or wild lemon balm, just before the plant begins to bloom. This is when the volatile oils that give herbs their flavor are at their highest. If possible, harvest in the morning after any dew has evaporated, but before the sun gets hot.
Use a sharp knife, pruners, or scissors to cut the top third of the plant. Remove any leaves that are in poor condition. Rinse with cool water and dry. A salad spinner is a great tool for drying the leaves.
Depending on the method you’ve chosen to dry the herbs, either tie in small bundles and hang in a well ventilated area, or remove the leaves from the stems, and lay them on screens or dehydrator trays to dry.
If using a dehydrator, dry at 100°F. If the weather is very humid, you may need to dry the plant material at a higher temperature, but not more than 125°F.
Depending on the thickness of the leaves, they will take several hours to several days to dry depending on the method you choose. Herbs are dry when they crumble, and stems break when bent.
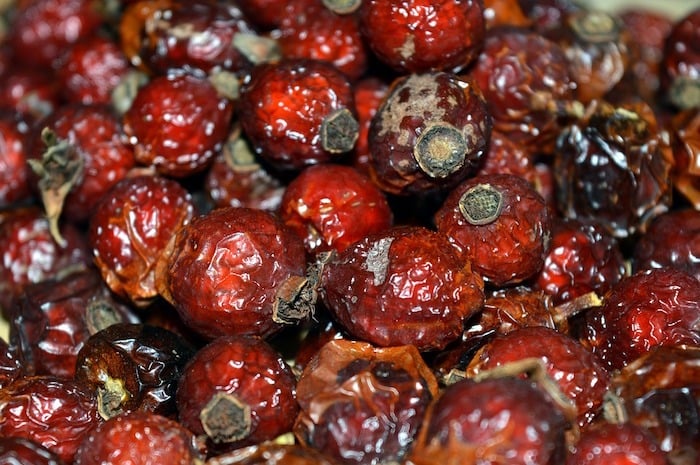
Tips For Harvesting and Drying Fruit and Berries
Fruits and berries, like crabapple, and wild blueberries, should be harvested when ripe, but still firm. Immature fruit will lack flavor while overripe fruit can be tough and fibrous, or soft and mushy.
Wash your fruit or berries in cool water, and remove any that are bruised or decayed.
Most fruit should be peeled and sliced into 1/4″ slices before dehydrating. For peaches, and other drupes, cut in half or quarters, and remove the pit. Small berries may be kept whole, and larger ones cut in half.
Soaking your sliced fruit in a mixture of equal parts lemon juice and cold water for 10 minutes helps to maintain color, and to destroy any harmful bacteria that may be on the fruit. Drain before dehydrating.
Drying fruits and berries is a bit more challenging than herbs. Arrange your fruit on trays in a single layer and dry at 140°F. Dehydration will take up to a day at this temperature, depending on the type of fruit. Slices may be turned over after a few hours to help speed drying. When done, fruits should be soft and pliable.
To dry fruits outdoors, hot (over 85°F), very dry, breezy days are recommended. It may take several days to dry foods outdoors. A protective cover like cheesecloth should be used to keep away insects and birds. Any moisture can ruin a batch of fruit or berries being dried outdoors. It is not recommended in humid climates.
To test fruit for dryness, remove a few pieces from your dehydrator, and allow to cool to room temperature. Squeeze the fruit and check to be sure no moisture remains.
Place the cooled, dried fruit loosely in large plastic or glass containers. Cover, and store in a dry, well-ventilated place for several days. Stir daily to separate pieces. If any beads of moisture form, return the fruit to drying trays and continue drying.
Once completely dry, store the fruit or berries in a covered glass container in cool, dry, dark place.
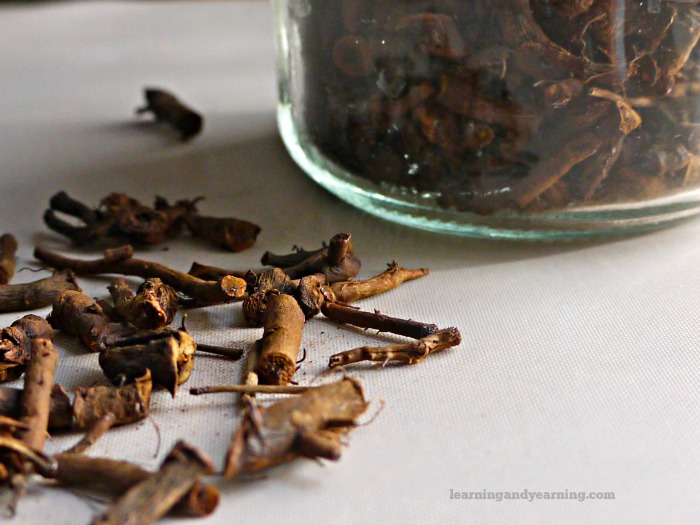
Tips For Harvesting and Drying Roots
Fall and spring are the best time to harvest roots, like dandelion, burdock, and others. After being sure that you’ve correctly identified your plant, dig your root. Please do make sure the plant is not on an endangered list.
Throughly clean your roots, and then slice or chop to be sure that they dry thoroughly. Place these on your drying trays, and allow to air dry for several weeks, or dehydrate at a low temperature in your oven or dehydrator until brittle – 100°F is ideal.
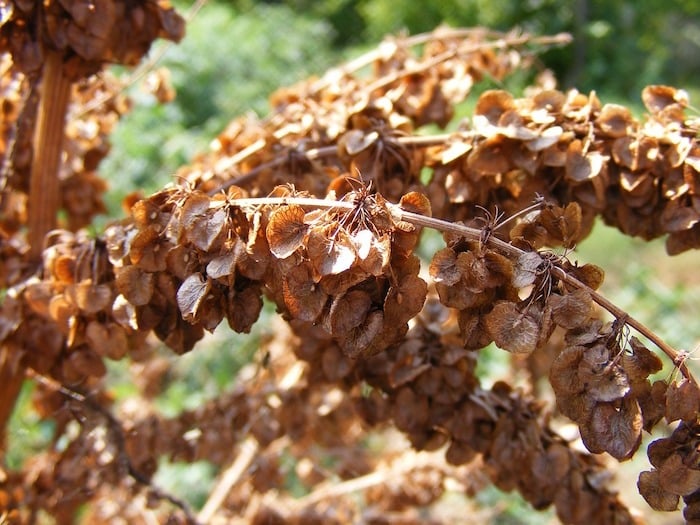
Tips For Harvesting and Drying Seeds
The wonderful thing about foraging for seeds, like dock seed, or nettle seed, is that most of them will dry right on the plant, and then you gather them.
With some plants, like wild fennel, you clip off the flower head before the seeds are completely mature, and then allow them to air dry. The seeds will fall and scatter on their own if you wait until they mature.
Once collected, all seeds should be spread on an absorbant cotton cloth, or paper towel. Be sure that the seeds are completely dry before storing them in an airtight container in a dark, dry area.
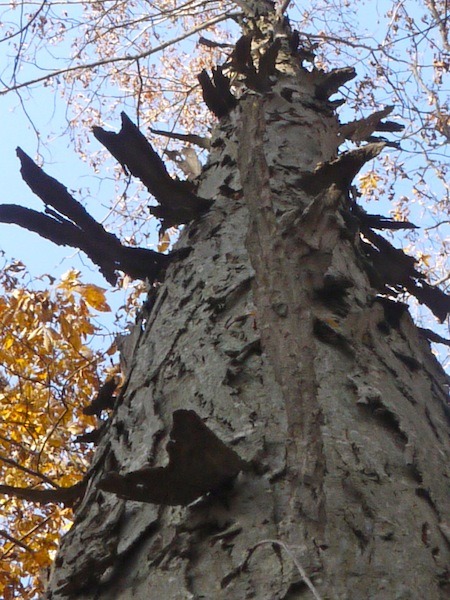
Tips For Harvesting and Drying Bark
Bark should not be harvested from a living tree. Instead, using sharp pruners or a handsaw, remove a lower branch from the tree, and remove the bark from the branch. Bark may also be removed from trees which have recently fallen and are still fresh. Bark from the shagbark hickory may be gathered from what the tree has naturally shed on the ground.
Be sure to understand which layer of bark is used for the particular tree or bush that you are harvesting. In addition, research the bark you are planning to harvest for safety information.
Note that wild cherry bark should always be harvested fresh, never from fallen branches on the ground. It should be dried immediately to prevent fermentation from occurring which produces toxic compounds.
Place the bark on your drying trays, and allow to air dry for several weeks, or dehydrate at a low temperature in your oven or dehydrator until brittle – 100°F is ideal.
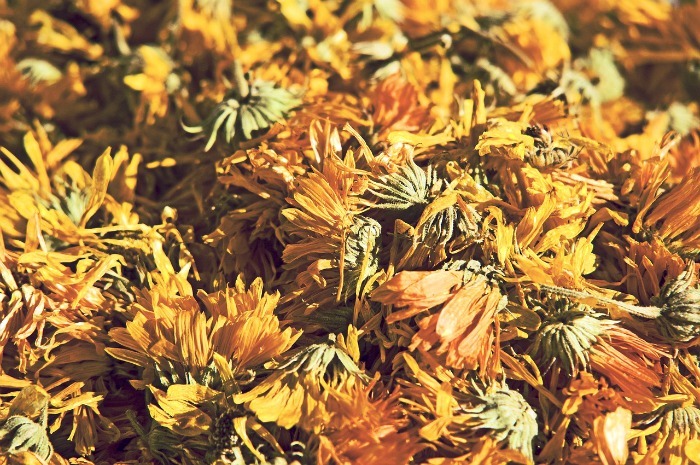
Tips For Harvesting and Drying Flowers
Many flowers, such as dandelion, calendula, lavender, and clover are edible and/or medicinal and may be dried for later use in teas, salves, and tinctures.
Harvest the flowers in dry weather and after dew has evaporated. Be sure to choose flowers that are disease-free, and don’t have insect damage.
Smaller flowers may be dried whole, while larger ones, like roses, should be separated into just the petals.
Spread your flowers in one layer onto your drying trays and air dry or dry in a dehydrator at a low temperature. Thin flowers may dry quickly in a dehydrator, so check hourly. Alternately, bundle your flowers and hang to dry for several days.
Like herbs, your flowers are dry when they crumble, and stems break when bent.

Conditioning and Storing Dried Herbs and Plants
Next, condition your dehydrated plant material. This is a process that ensures that the moisture in your dehydrated food has even moisture levels so that mold will not form.
To condition your dehydrated plants, place them in a ziplock bag or glass jar that has extra room in it. Shake the bag or jar daily and look for signs of moisture – this might be condensation, or perhaps the scapes are sticking together.
If you observe any signs of moisture, return the plant material to your dehydrator for more drying time. After several days of no moisture you may move on to storing.
Once your plant material is thoroughly dry, store in airtight containers. Glass jars, or zip-lock bags work well. Label your container with the name of the plant, and the date it was dehydrated.
Store the container in a cool, dry, dark area. Properly dried herbs will store well for at least a year.


")


")


 Extract - with tips for foraging")


 with Stinging Nettle (or other wild greens)")


")