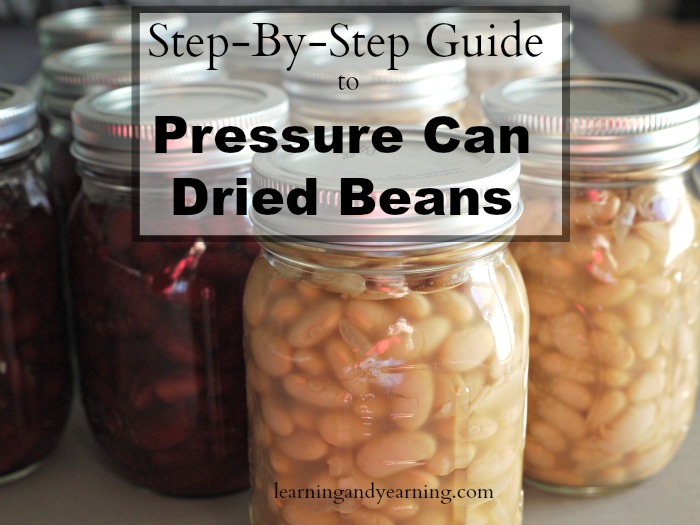
Why Pressure Can Dried Beans
I’m the girl who’s not in love with canning. I much prefer to preserve my garden produce by dehydration or lacto-fermentation because both methods do a much better job of preserving nutrients.
Canning does have its place, and I do can tomatoes and sauce, and maybe a few jars of applesauce.
And I can dried beans (legumes). That may be surprising, since storing the beans dried is so easy. Here’s my reasoning – some days I just like to have something available that’s fast and easy. And cooking dried beans is anything but fast.
I’ve cooked extra beans and froze them, and that works fine, but I need my freezer space for the meat we buy from local farmers.
One of Mike’s favorite meals is homemade chili. It’s really an easy meal, except for those beans. So, while I keep dried beans on hand, I inevitably end up with store-bought cans of kidney beans on my shelf to throw in chili when I haven’t thought things out ahead of time and haven’t soaked and cooked beans.
Get it? I’m into fast food; just not the kind you find at those franchise restaurants.
Soooo, that’s why I can beans.
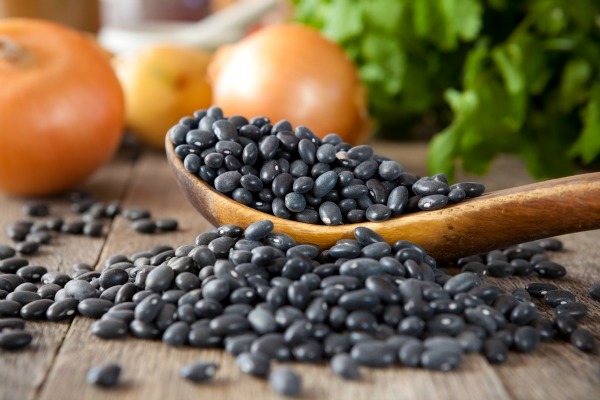
© Depositphotos.com/[MonaMakela] – Terms and Conditions
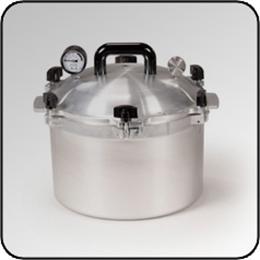
Because beans have very little natural acid, they must be processed using a pressure canner, rather than a water bath canner. And that’s why I have a gorgeous, made-in-America, All American Pressure Canner.
When I was trying to decide which pressure canner to purchase, I asked my Facebook fans for some advice. And they really had some great things to say.
While the All American is a more expensive canner, the quality is far superior to anything else out there. And the fact that it does not use a gasket to create a tight seal means no gaskets to replace. Those things can be pricey.
I checked out used All American’s online, and I was amazed to find out that they cost almost as much as new. That kinda’ sealed the deal for me. If they can retain their value like that, I’m in.
Before starting, be sure you are familiar with your pressure canner. The user guide that came with your canner is a valuable reference.
Step 1. Soak the Beans
Soaking beans (legumes) helps to insure that they are easily digested. In Nourishing Traditions, the author says that soaking:
ensures that legumes will be thoroughly digestible and all the nutrients they provide well assimilated, because such careful preparation neutralizes phytic acid and enzyme inhibitors and breaks down difficult-to-digest complex sugars.
So, first decide the amount of beans you will need. A canner load of 7 quarts will require approximately 5 pounds of beans. A load of 9 pints will require about 3 1/4 pounds of dried beans.
Wash the beans under cold water and drain. Cover the beans with water. Allow to soak for 12 – 18 hours. Drain and rinse the beans.
Step 2. Partially Cook the Beans
Place the soaked beans in a large pot and add water to cover the beans. Bring the beans to a boil, skimming off any foam. Gently simmer, covered, for 30 minutes. This will only partially cook the beans; they will finish cooking in the canner.
Step 3. Set Up Your Pressure Canner
 While the beans are cooking, prepare your pressure canner.
Place the rack in the bottom of your canner, and fill your canner with approximately 2 quarts of water.
Bring the water to a simmer.
Step 4. Get Your Canning Supplies Ready
To pressure can dried beans, you will need:
- clean quart or pint glass canning jars, kept in hot water until ready to fill
- metal lids and bands for each jar (lids must be new and cannot be reused for canning, but the bands may be reused)
- a jar funnel
- a jar lifter
- non-metallic spatula
- your soaked and partially cooked legumes
- salt (optional)
Step 5. Fill Your Jars
Fill your hot jars with partially cooked, hot beans, leaving 1 inch headspace. If desired, add 1/2 teaspoon of salt to each pint jar or 1 teaspoon to each quart jar. Ladle the hot liquid from your bean pot into each jar, covering the beans and leaving 1 inch headspace.
Using the spatula, remove any air bubbles from your jars by placing the spatula between the beans and the side of the glass jar, gently pushing on the beans to release trapped air. Do this several times around the jar. Don’t use a metal spatula which may scratch the glass.
Wipe the rim of each jar with a clean, wet cloth. Place a lid and a band on each jar, tightening the band, but not forcing it.
Step 6. Place Jars in Canner
Place the filled jars onto the rack in the bottom of your pressure canner, which has approximately 2 quarts of simmering water in it.
Step 7. Process the Beans
Now place the lid on your canner and secure the lid according to the manufacturer’s instructions. With the heat on medium-high, vent the steam for 10 minutes.
Put the weighted gauge on the vent and bring the pressure to 10 pounds (psi) if your elevation is below 1000 feet. If your elevation is above 1000 feet, use 15 pounds of pressure.
Process pint jars for 75 minutes, or quart jars for 90 minutes.
Turn the heat off and allow the pressure to drop to zero pounds of pressure. Remove the weighted gauge. Wait 2 minutes and remove the lid from the pot.
Step 8. Cooling the Jars and Testing the Seal
Allow the jars to cool for 10 minutes. Using a jar lifter, remove the jars from the canner and place them on a towel to continue to cool. Leave a few inches of space in between the jars as they cool.
After the jars have cooled completely, test the seal by pressing the center of the lid. If the lid is concave and does not move, it is sealed.
Step 9. Label and Store Your Canned Beans
Label your jars with the name of the bean and the date and store in a cool, dry, dark area for up to a year.
And now you’re ready for some quick meals!
More Posts You’ll Love
Beginner’s Guide to Pressure Canning
Homemade Beef Bone Broth with canning instructions
Beginner’s Guide to Water Bath Canning


 Extract - with tips for foraging")


")


")