Part 1 includes growing guides for cool season vegetables: asparagus, beets, broccoli, Brussels sprouts, cabbage, carrots, cauliflower, garlic, and kale. Find Part 2 here.
The first step in gardening is to create the foundation of healthy soil. And then you’ll be ready to plant. Below are tips for growing the most common varieties of cool weather vegetables in your organic garden, most of which happen to be my favorites.
Remember, this is a guide, not a rule book. Have fun and experiment with how you garden – it’s an art!
Cool Weather Vegetables
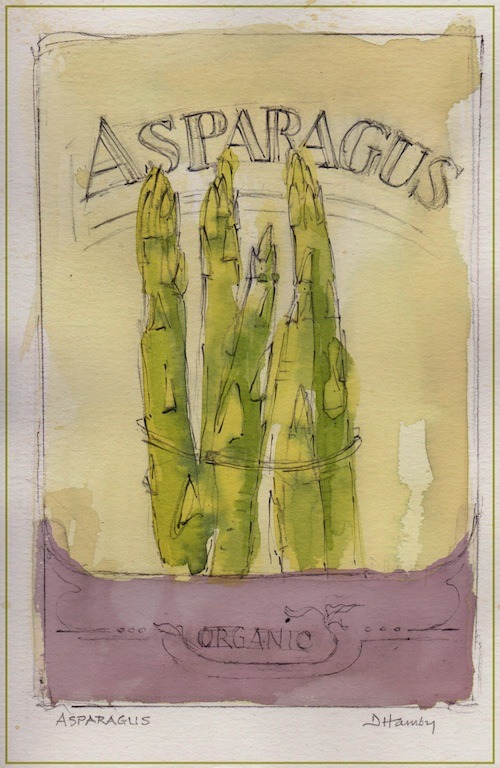
Asparagus
This cool season vegetable is one of the earliest to harvest in the spring. It is a hardy perennial and should provide a tasty crop for many years if cared for properly. The plant is fern-like and attractive in the garden. Roasting the stalks is my favorite way to enjoy them.
Sunlight: Full sun to partial shade.
Soil: Prefers loose, well-drained soil, high in organic matter.
Hardiness Zone: 2 – 8
Height: 5 – 9′
Distance Between Plants: 18 – 24″
Planting Information: Purchase disease-free crowns for planting 4 – 6 weeks before average last frost. Prepare 8″ deep trenches and spread the roots of the crown in the bottom of the trench. Cover with 2″ of soil and continue to cover soil as the plants grow.
Care: Keep plants moist the first year, but not water-logged as they are susceptible to crown rot. Apply a layer of compost each year, and keep the beds mulched to control weeds and maintain moisture. Wait until the ferns die back in the fall and then cut them down.
Harvesting: Cut the spears in early spring when they reach 6 – 10″.
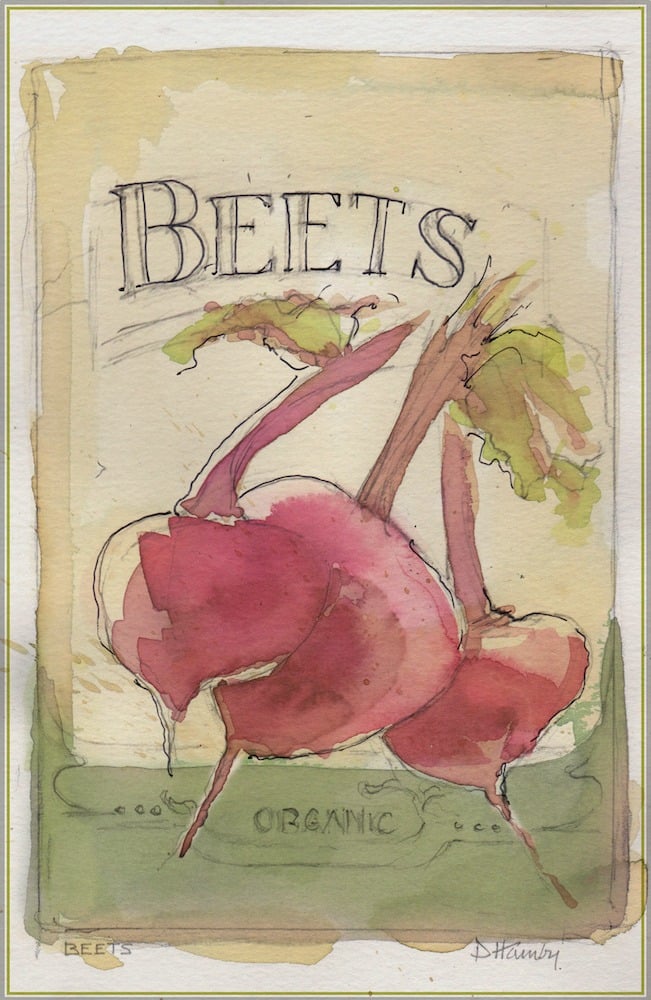
Beets
This easy-to-grow, cool-season vegetable produces both roots and greens for eating, and is an attractive addition to the garden. Grow both golden and red varieties; salads made from roasted beets are beautiful and delicious.
Sunlight: Full sun to partial shade.
Soil: Prefer well-drained soil, but do tolerate low fertility. They need loose, rock-free soil to produce a nice root.
Hardiness Zone: 2 – 10
Height: 12″
Distance Between Plants: 4 – 6″
Planting Information: Beets are tolerant of frost and can be direct sown in the garden as soon as the soil can be worked in the spring. Plant them 1/2″ deep every 2 weeks until the weather warms. Plant again in late summer/early fall.
Care: Each seed-ball actually contains a few seeds, so thin the beets to one plant when the leaves are a few inches tall. Thin by cutting, not by pulling, so that you do not disturb the root of the plant being left in the soil. Beets do not like a lot of nitrogen and will form more leaves than root when nitrogen is high.
Harvesting: Beets may be pulled from the ground at any size. Don’t allow them to get too large though, since they will become tough. Beet greens are edible as well.
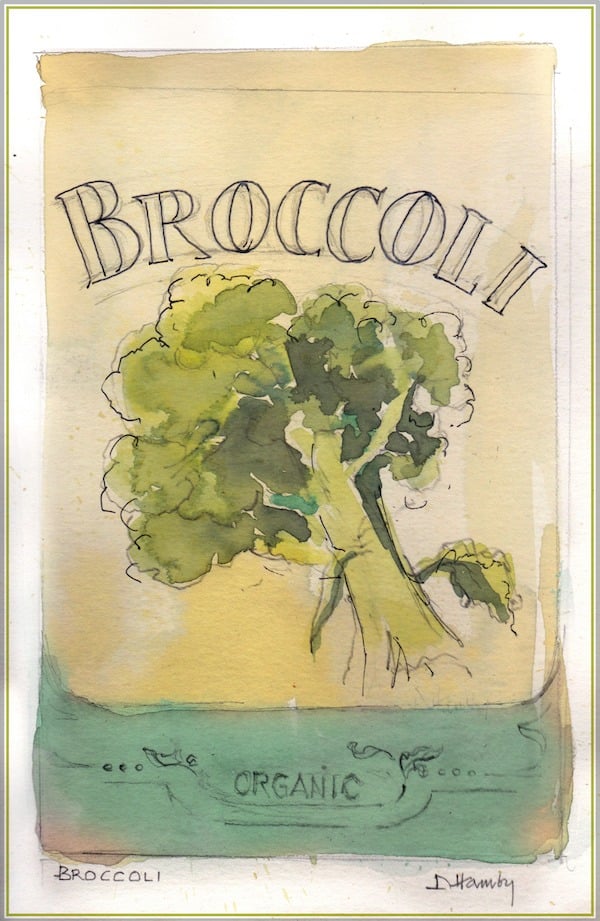
Broccoli
This member of the cabbage family is one of the unsung heroes of the garden, providing a harvest early summer through fall, even tolerating a light frost. Broccoli generally produces a large head ready for harvest about two months after planting in the spring. It continues to produce side shoots right up through a fall frost. There aren’t too many garden plants that I know of that have such a long harvest season. We especially enjoy using our broccoli to make Creamy Broccoli Soup with Bacon.
Sunlight: Full sun to light shade.
Soil: Well-drained, fertile soil with consistent moisture.
Hardiness Zone: 3 – 10
Height: 2 – 3′
Distance Between Plants: 18 – 24″ A larger head will be produced with farther spacing, but more side shoots will be available with closer spacing. I personally prefer to get a lot of side shoots from my garden space.
Planting Information: Start seeds indoors 6 – 8 weeks before the last spring frost. Transplant to the garden with the plants are 4 – 6 weeks old. Broccoli seeds may also be direct sown as soon as the soil can be worked.
Care: Be careful about using too much nitrogen, which may cause hollow stems. Plants have shallow root systems, so avoid even shallow cultivation. Mulch to protect roots, reduce weed competition, and conserve moisture.
Harvesting: Cut the florets with a knife while they are still tightly closed. As soon as the buds begin to swell, they will have a more yellow cast to them and may be slightly bitter. Be diligent in keeping the side shoots harvested, especially in hot summer weather, to keep the plant from bolting.
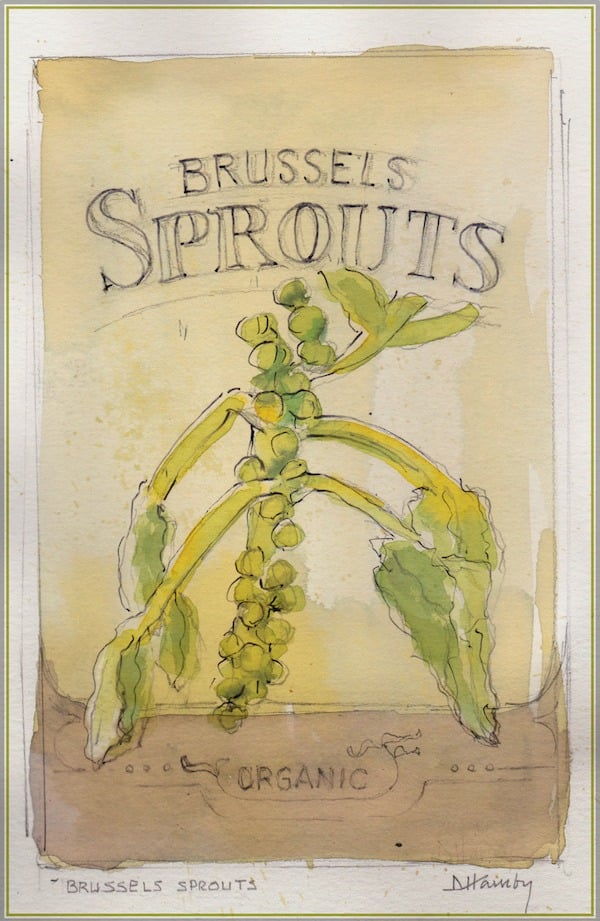
Brussels Sprouts
Another member of the cabbage family, Brussels sprouts are a must-have vegetable in my garden. They have a long growing season and seem to take up room in a summer garden when no crop will be harvested until after a frost (they are much sweeter then). But that’s when the rewards begin. Brussels sprouts winter well in the garden without any cover in our northern garden, and we always save some to harvest on Christmas morning.
Sunlight: Full sun to light shade.
Soil: Well-drained, fertile soil with consistent moisture; Brussels sprouts are one garden vegetable that actually likes semi-compacted soil. If your plants are not producing sprouts, it is likely that your soil is too loose.
Hardiness Zone: 2 – 10
Height: 2 – 3′
Distance Between Plants: 18 – 24″
Planting Information: Start seeds indoors 4 weeks before the last spring frost. Transplant to the garden when plants are 4 – 6 weeks old. Seeds may also be direct sown in the garden about 4 months before the first fall frost.
Care: Plants have shallow root systems, so avoid even shallow cultivation. Mulch to protect roots, reduce weed competition, and conserve moisture.
Harvesting: Brussels sprouts look like little balls growing all around the plant stalk. Harvest by breaking or cutting these off any time after your first fall frost.

Cabbage
Years ago, I used a head of cabbage only occasionally, so it was not something I thought worth growing until I discovered lacto-fermented sauerkraut. Now that I know how to preserve my harvest in a way that increases nutrients, cabbage is back in the garden.
Sunlight: Full sun to light shade.
Soil: Well-drained, fertile soil with consistent moisture.
Hardiness Zone: 1 – 9
Height: 1 – 2′
Distance Between Plants: 18 – 24″
Planting Information: Start seeds indoors 6 – 8 weeks before the last average spring frost for your area. Transplant to the garden when plants are 4 – 6 weeks old. Plant a second crop in late June for a fall harvest.
Care: Plants have shallow root systems, so avoid even shallow cultivation. Mulch to protect roots, reduce weed competition, and conserve moisture.
Harvesting: When heads of cabbage are firm all the way through, they are ready for harvest. The variety will determine the size. Using a knife, cut the head at the lowest point possible. It is best to not leave a mature head on the plant, especially if rain is predicted, because excess water may cause the head to split. Small cabbage heads will form on the plant after the large head been harvested. Harvest these when they are firm.
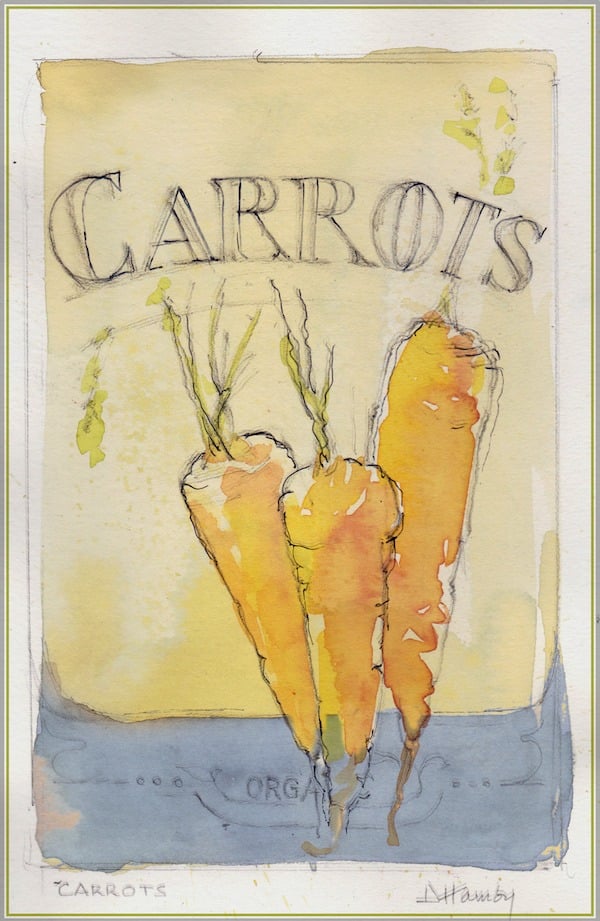
Carrots
Another of my favorite vegetables for lacto-fermenting, carrots may be stored right in the ground for winter harvesting. We also love them in Copper Penny Carrot Salad.
Sunlight: Full sun to light shade.
Soil: Well-drained soil with plenty of moisture. Soil should be deep, loose, and free of stones to prevent the roots from twisting or forking. Too much nitrogen can cause the roots to branch.
Hardiness Zone: 4 – 10
Height: 12 – 18″
Distance Between Plants: 2 – 3″
Planting Information: Direct sow carrots seeds in the spring, replanting every few weeks. Carrots are slow to germinate. Plant 1/2″ deep, 1″ apart. Do not allow the soil to dry out. Thin to 2″ apart by cutting rather than pulling, so that you do not disturb the roots.
Care: Mulch to keep soil cool, conserve moisture, and keep the carrot tops from turning green and bitter.
Harvesting: Carrots may be pulled from the round and eaten at any size, but are generally mature 2 – 3 months after planting.
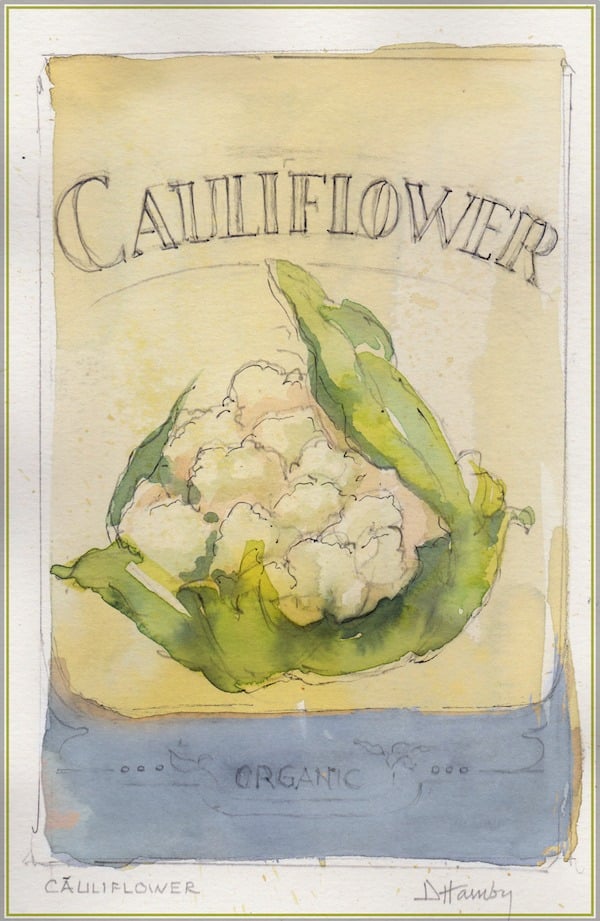
Cauliflower
Of all the plants in the cabbage family, cauliflower is the most difficult to grow. It will not produce a head in warm weather, and is difficult to grow from seed directly planted in the garden. We love to use cauliflower instead of potatoes in Zuppa Toscana.
Sunlight: Full sun to light shade.
Soil: Well-drained soil with consistent moisture.
Hardiness Zone: 3 – 10
Height: 1 – 2′
Distance Between Plants: 18 – 24″
Planting Information: Start seeds indoors 6 – 8 weeks before the last average spring frost for your area. Transplant to the garden no more than 2 weeks before the last average frost for your area.
Care: PLants have shallow root systems. Avoid even shallow cultivation. Mulch to protect roots, reduce weed competition, and conserve moisture. Consistent moisture is a necessity. To preserve the white color of the curd (head), use string or rubber bands to secure outside leaves over the head when it is about 2 – 3″ in diameter.
Harvesting: When the curd is firm, cut it from the plant with a sharp knife, taking some of the leaves with it.
 | The Vegetable Garden Problem Solver Handbook by Susan Mulvihil |
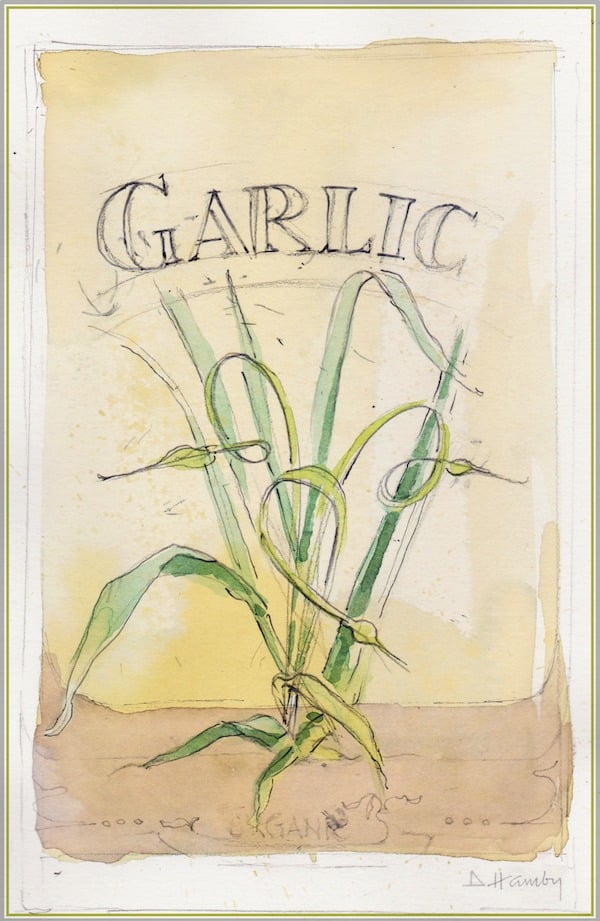
Garlic
Garllic prefers cool weather when the bulbs are forming. Purchase bulbs for planting from a disease-free source. Don’t not use bulbs purchased at the grocery store. There are two types of garlic – softneck and hardneck. Hardneck varieties are hardier and best for northern gardens. They also form scapes which may be used in cooking. Softneck varieties are more suited to milder climates; they don’t form scapes but last longest in storage.
Sunlight: Full sun.
Soil: Prefers well-drained, fertile soil with plenty of organic matter.
Hardiness Zone: 3 – 8
Height: 2 – 3′
Distance Between Plants: 6 – 8″
Planting Information: Fall plantings of garlic yield more than early spring plantings. The optimum time to plant is after the first light frost in the fall. Cloves of garlic are planted; the largest cloves yield the largest bulbs. Plant the root end of the cloves down and the pointed end up, leaving the papery covering intact. Cover with 2″ of soil and 6″ layer of mulch. Do not remove the mulch in the spring; this will control weeds. The cloves will sprout through the mulch in the fall. They will then emerge again in the spring.
Care: Give garlic about an inch of water per week during the growing season. Cease watering in early June as the forming bulbs prefer a dryer soil. Keep the area weed free.
Harvesting: Harvest scapes, the curly stems that form as garlic matures, by cutting them off when they are about 10″ long. Leaving them on the plant will cause the garlic to go to seed, and hinder the formation of large bulbs. It is time to harvest the bulbs when the leaves begin to die back, usually late June or early July, depending on your climate. Dig the bulbs carefully, brushing off most of the dirt, but do not wash. Hang them to dry still attached to the stalk, in a shaded, well ventilated area out of rain for 4 -6 weeks. Trim stalks, and store in a dry area. Keep the best, largest heads for planting in the fall.
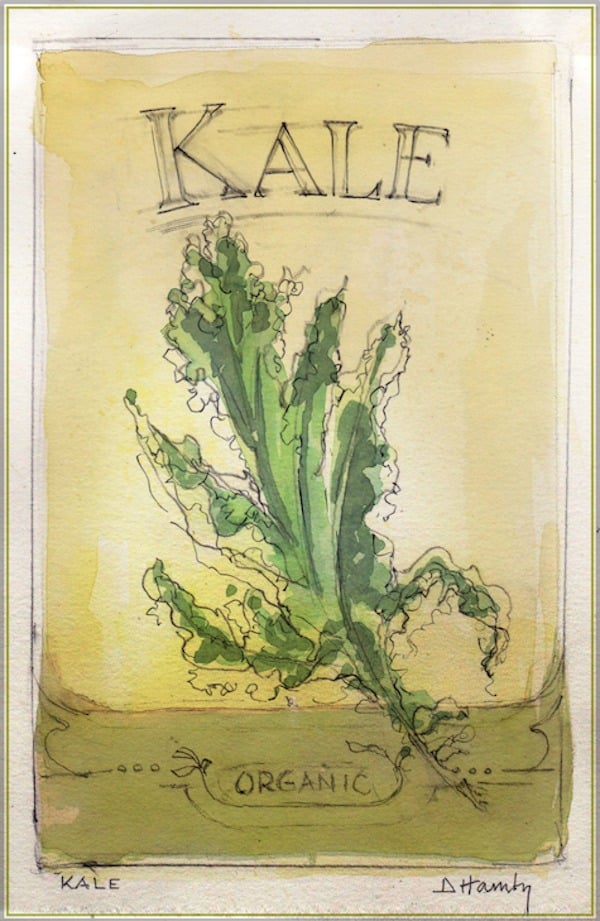
Kale
Truthfully, I much prefer Swiss chard to kale, although kale chips are a real treat. So I do leave a little room in the garden for this nutritious green. Kale is very cold hardy, making it a good choice for the fall garden. The flavor of kale improves after a frost.
Sunlight: Full sun to partial shade.
Soil: Prefers well-drained, fertile soil with plenty of organic matter.
Hardiness Zone: 3 – 9
Height: 18 – 36″
Distance Between Plants: 18 – 24″
Planting Information: Dircet sow seeds 1/4 – 1/2″ deep as early as 4 weeks before the average last frost for your area.
Care: Mulch kale heavily after a hard freeze and you may be able to continue harvesting throughout the winter.
Harvesting: Harvest kale leaves at any size, preferably while still young. Don’t harvest the top center terminal bud to keep the plant flourishing.

More Posts You’ll Love
Cool Weather Vegetables Part 2
Organic Insect Control for Your Vegetable Garden
Your Seeds Aren’t Germinating? Here’s Why
10 Common Mistakes When Using Wood Chips in Your Vegetable Garden
Your Guide to Raised Bed Gardening
Plastic Mulch in the Garden: Friend or Foe?


")